Flash Sale 20% Off Over $75 - Code SPRING24MORE INFO

3 DIY Videos to Help You Strip A Door

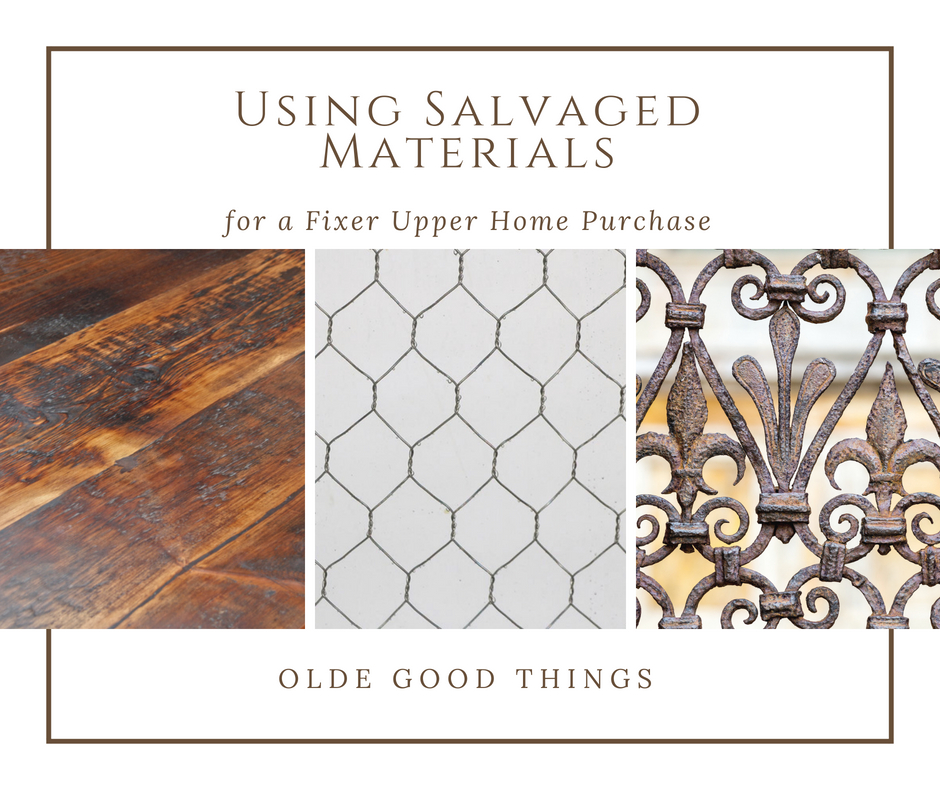
Reclaimed doors are a treasure, but sometimes treasure needs a little polishing. Whether you want to take your vintage architectural salvage doors down to the bare wood, preserve original varnish, or just repaint anew on a smooth surface, you may appreciate some ideas on the easiest way to tackle this tough project.

Stripping old paint off doors is one of those exciting projects that sounds great in the beginning, but can easily turn into a complex chore. A multitude of visual instruction videos on stripping old doors is available, and here are some favorites.

Number 1

How to Strip a Door (or any other surface)

Brittany at Prettyhandygirl.com has this helpful video on what products and tools to use, cleanup, and stripping a door to a fresh tabula rasa.

Number 2

The EASY WAY to Refinish a Door!

The Wood Whisperer offers tips on refinishing a door while it is still on its hinges – practical when it is already on your house or building and you don’t want to leave the interior open to the elements while waiting for stripping agents to soak in or wood to dry.

Number 3

How to Safely Strip Paint from Woodwork | Ask This Old House

Ask This Old House consults the experts on removing paint from classic old wood without destroying the original varnish beneath, and what to avoid by learning from others’ mistakes.


Supplies:

Various hand tools for removing hardware and hooks from door

Paint/varnish liquid stripper

Mineral spirits

Wood filler/epoxy

Paintbrush

Various handheld strippers (flat and chisel edged)

Wire brush

Steel Wool

Sandpaper

Power sander plus ear protection

Gloves

Safety glasses

Respirator

Lead test kit

Adequate ventilation

Extras:

Shop-vac

Plastic (for the mess)

Rag or cloth

Pencil

Toothpicks

Baby gate?


For additional tips and tricks from experts on transforming your architecture salvage treasures, contact our experienced craftsman at Olde Good Things.

How to Hang Kitchen Island & Dining Room Lights

The kitchen and dining areas are two of the most important spaces in the home for combining ambience and functionality with lighting. They are the hearth of the home, the space everyone is drawn to, the area of nourishment for body and soul. Logically speaking, creating this resonance in kitchen and dining areas involves planning, particularly in relation to dining room tables, kitchen islands, and countertops.

Careful measurement of spacing and clearance is everything in making your lighting add to the overall ambience, organization, and spaciousness of your kitchen and dining areas.

Lighting Placement for Dining Areas

For dining areas, consider how the table synchronizes with your lighting. Linear suspension lighting or multi-light pendant light fixtures go well with long dining tables which are almost always rectangular or oval-shaped. Chandelier lighting and single pendants are the best illuminations for square and round dining tables, with the light fixture centered over the table. Small rowed pendant lighting works, as well.

The overhead lighting should be spaced to leave an equal distance on the sides of the table is square or round, and an equal distance (about 6 inches) at each end of the table is long.

The entire drop of the fixture should be 28 inches to 36 inches from the bottom of the fixture to the table surface. Generally, in rooms with 8-foot ceilings, around 30 in. is optimal. You can add 3 in. if the ceiling is higher than this.


Light Placement for Kitchen Islands and Bars

To space pendant lighting across kitchen islands and dining counters, first measure the island or counter surface. Measure the diameter of each light fixture/pendant. Add the diameters. Subtract the result from the length of the surface. Add “1” to the total number of your fixtures to account for spacing and the ends of the surface. So, if you have “4” pendants, use the number “5”. Now divide the subtracted result by this number. This will give you the length of spacing between fixtures.

Use the same formula for L-shaped bars. For a Kegger (corner) bar or two L-shapes attached by a 45 degree joint, use the formula for all three sides. Lighting for a U-shaped bar can follow the “U” shape, or you can space the pendants or fixtures in a straight line by measuring across the diameter.

For the drop of the light fixture (s), hang smaller fixtures 66 in. to 72 in. from floor to bottom of the fixture. Fixtures hung over islands, countertops, and tables allow a little bit of play in clearance because no one will be walking directly underneath, but you also want the fixtures to equally spread an appropriate amount of light for eating or working on your surface.


Lighting Selection

If you are starting from scratch in purchasing a light fixture for a kitchen or dining room, decide what your options are. A single chandelier or overhead pendants can be grouped directly over tables for dining or working on tasks, while sconces, ambient, and accent lighting are affixed to walls or hung from remote corners. You will need to ensure first that you have the electrical wiring necessary in these areas unless you also wish to bring in an electrician.

Come visit one of our Olde Good Things locations or view our selection online to select your ideal chandelier, pendant lighting, wall sconces, and other vintage lighting for home and commercial spaces.


A Short But Sweet History of Chandeliers

Classic Bell Jar Pendant Lighting Instills a Vintage Eclectic Edge

Using Salvaged Materials for a Fixer Upper Home Purchase

Few would deny that unique style is a bonus for prospective buyers of renovated homes. While quality and function are important, it can be the unexpected touches that trigger a positive response and prompt an offer.

Investors who purchase property with the goal of renovating and reselling for profit sometimes overlook the potential to add character with reclaimed materials and architectural salvage, instead choosing more expensive options that can sometimes be hard on the budget.

Recognize Possibilities  

While most buyers appreciate the style and reliability of modern heating and cooling systems, new appliances and  energy-efficient lighting, there is a certain charm associated with vintage bath fixtures, period chandeliers and wall sconces, and reclaimed beams, flooring, doors, millwork and hardware.

When the quality of workmanship is evident, there is no reason why design items from the past cannot be fully integrated into modern interiors. Even exteriors can be enhanced with older architectural features. The truth is that salvaged materials and vintage home decor can constitute a bargain when used to update a “tired” property. They also add much-needed character to transform a bargain fix-and-flip project from mundane to extraordinary.

Rather than squandering potential profit on high-ticket items, why not exercise a bit of ingenuity to incorporate a stately vintage aesthetic into a modern property, whether that’s through DIY projects or hiring a professional craftsman? Whether your finished design theme is rustic farmhouse, industrial, Euro-tech, distinctively contemporary or vintage elegance, the unique appeal of repurposed elements can add spirit and new life to a renovation.

Be Inventive

The matching look — in home design as in furniture and clothing — is now passe, and color today depends less on popular trends than on personalization and individuality.

Designers and architects, as well as savvy investors and builders, realize the benefits of cost-effective options. Budgeting for a renovation requires keeping a tight lid on costs. Prospective buyers will respond to the unique and unusual. Salvaged architectural materials have the ability to raise the bar of perception: Buyers respond to one-of-a-kind features. Homes with custom features and distinctive personality sell faster and for higher prices than cookie-cutter models.

Look for Multi-use Value

The possibilities for integrating artistic features and period elegance are endless. Just consider these:

  • Add a carved wood fireplace surround as the focal point for a sleek modern fireplace;
  • Incorporate a freestanding armoire into a kitchen filled with standard upper and lower cabinets;
  • Add a kitchen island top of French marble rescued from an elegant hotel’s lobby;
  • Add Victorian tin ceiling panels to spark design elegance in a modern kitchen or dining room;
  • Create an elegant vanity cabinet from an old buffet or desk;
  • Reclaimed glass — seeded or chicken-wire panes — looks great in new kitchen cabinets;
  • Panel a den wall with peeling painted siding from an old barn;
  • Reclaim antique brick or stone to create a patio wall or pave a small entry;
  • Create porch columns from older pilasters and stairway balusters;
  • Hang a antique framed mirror in a contemporary power room;
  • Incorporate transom windows from an aging hotel as interior accents that bring additional light into dark halls;
  • Use a serviceable chest or bookcase as a window seat or bathroom bench; extra storage is always welcome.

When renovating existing property, don’t let your vision be limited to “modernizing.” Keep all options on the table. Sometimes older is better, not only because the price is good, but because the value far outweighs the cost.

Industrial Cast Iron Table Legs Styles Video

'"

Click the picture above to view the video


Our cast iron machine table legs are redesigned from original jewelry press legs made in America during the early 19th century. These legs are manufactured specifically to pair with our one of kind reclaimed wood table tops. Each leg has a top plate with four mounting holes for easy mounting, great for making your own industrial farm dining room table, coffee table or bench. There are five styles to choose from, two with a counter height option. Each leg is lacquered to prevent rust and gives the iron a blackened color. We offer metallic highlighting of the embossed lettering on the Brooklyn legs and the New York legs. We also offer custom coloring and distressed finishing. Please contact us for pricing on custom options.


Olde Good Things