Oftentimes our customers end up buying an antique door from us because they love the design even though they’re not necessarily in love with the color. We like customers with vision and who enjoy a challenge!
If you’ve found a door that you like, but aren’t completely pleased with its finish, or if you’ve got a door in your home that could use a little TLC, check out our easy to follow instructions to help you restore your door!
How to Stain an Old Door in 7 Steps

1. Remove the door from hinges if the door is already up. There is less of a chance of causing damage to the door or surrounding molding and walls this way.
2. Apply paint remover (there are great, environmentally-friendly, biodegradable options in the market), and wait per manufacturer’s instruction.
3. Use a paint scraper to lift paint from flat surfaces or a stiff bristle brush for detailed areas.
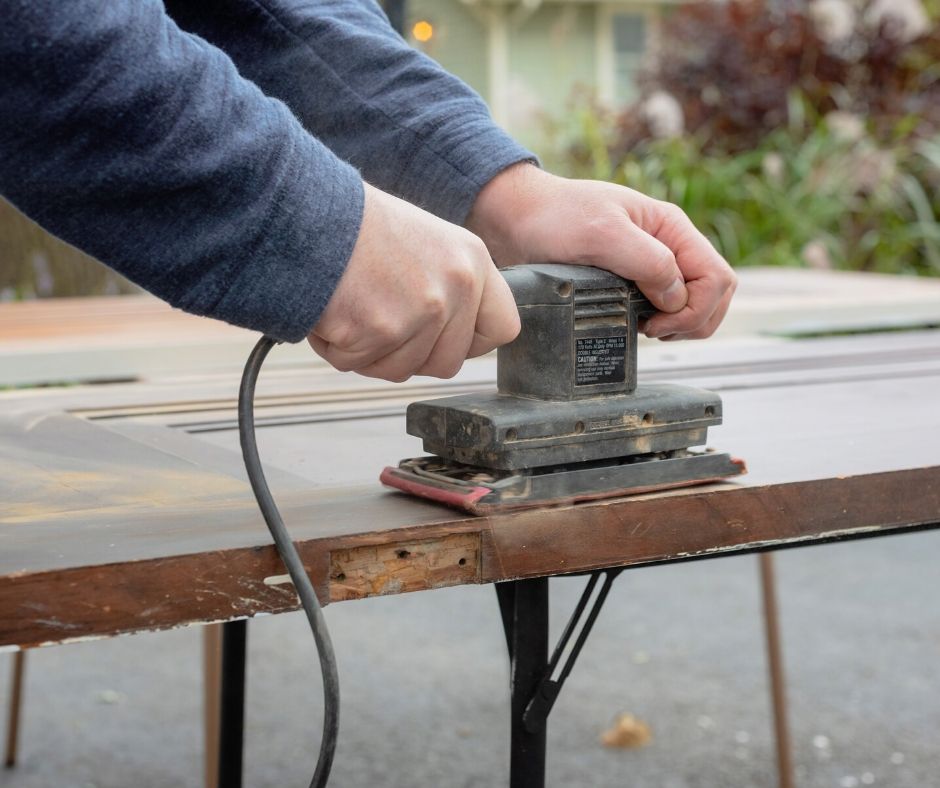
4. Sand with 100-150 grit sandpaper to remove remnants and then finish with 180-220 grit sandpaper in the direction of the woodgrain.
5. Wipe down with a clean, damp cloth and let dry – completely. Water will not interact well with stain.
6. Apply the first layer* of stain with a clean cloth, let dry 24 hours. Don’t forget the little details on the door – every inch should be coated with the stain.
7. Apply a coat of varnish or urethane, let dry 24 hours.
*If the first layer did not produce desired results, lightly sand the door with 190-220 grit sandpaper for a smooth finish, apply an additional layer of stain, let dry 24 hours and apply another coat of varnish or urethane to seal and wait another 24 hours.
How to Paint a Painted Old Door in 5 Steps

1. Remove the door from hinges if the door is already up. There is less of a chance of causing damage to the door or surrounding molding and walls this way.
2. Sand lightly with 100-150 grit sandpaper and then finish with 180-220 grit sandpaper in the direction of the woodgrain. Always start with heavier grit sandpaper to get rid of the rough spots in the wood and finish the door with a lighter grain for a smooth finish. Once you’re able to run your hands along with the door and not feel a snag, you’re done!
3. Wipe down with a clean, damp cloth and let dry – completely. Water will not interact well with stain.
4. Apply primer, let dry per manufacturer instruction.
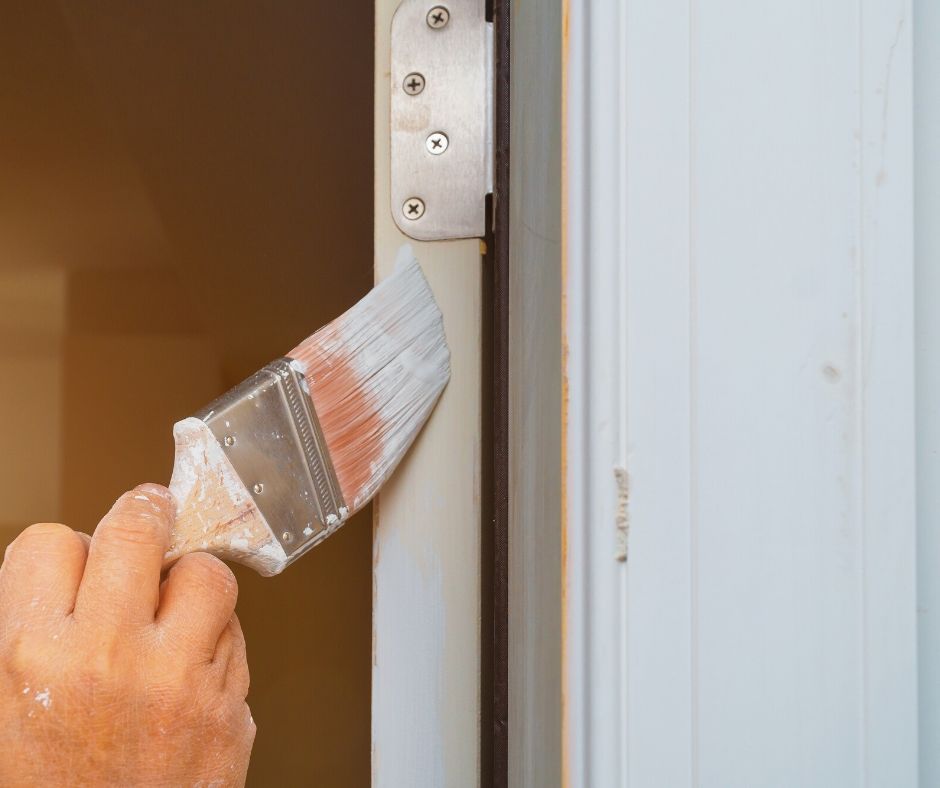
5. Apply first layer* of paint, let dry per manufacturer instruction.
*If the first layer did not produce desired results, apply an additional layer of paint and let dry per manufacturer instruction.
Read more about antique old doors!

