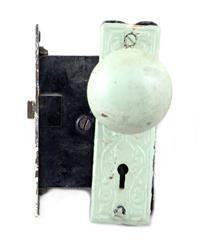
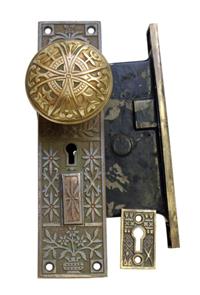
As the #1 ranked architectural salvage company in the country, we are overflowing with incredible vintage and antique goods. One of our most popular salvaged pieces are vintage and antique doorknobs. We have beautiful honeycomb type mercury dot antique doorknobs circa 1800s, we recently salvaged a collection of milk glass vintage doorknobs, and there are a number of deliciously antique Victorian ‘Loraine’ door knobs just waiting for you to come and take them home.
 If you are lucky enough to find the perfect a set of antique or vintage doorknobs at one of our locations you might be at a loss as to how to install them properly on your own (most people are understandably ignorant in antique hardware installation). Well, in order to please our esteemed customers we are offering you this how-to blog post so that you can learn how to install your own doorknobs.
Most antique doorknobs are similar in their mechanisms which means that this installation method will work on most of the doorknobs you’ll find in our stores. These how-to instructions are for antique doorknobs with two glass top knobs and a connecting spindle – you’ll also need a back plate or rosette (we have a great selection of those as well) and a mortise latch, purchased from a local hardware store.
Step 1
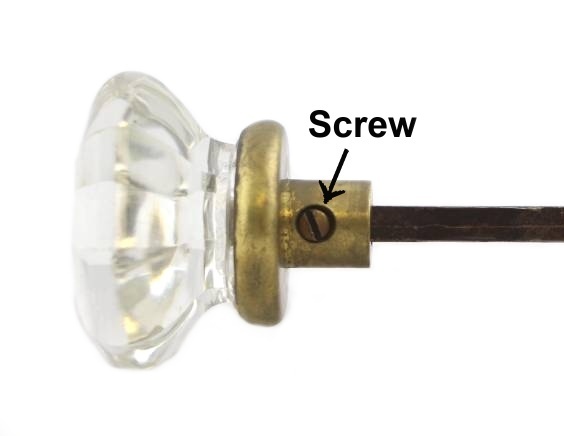
- The connecting rods on the glass top doorknobs are usually the threaded type with screws the base of each knob. These screws are there to keep the knobs in place. Using a flat head screw driver, loosen and then remove the screws on one side of the rod until you are able to twist one of the knobs from the rod.
Step 2
- Remove the knob from one end of the rod. If the rod is rusted into the base of the knob you can use a set of pliers to loosen and then remove the rod.
Step 3
- Using manufacturer instructions, install the mortise latch in your door. This is a special latch that allows you to install antique and vintage knobs with square spindles into modern doors.
Step 4
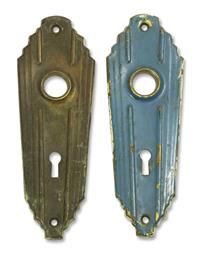
- Place your chosen back plate or rosette on one side of the door and insert the rod through the back plate and mortise latch and out the other side of the door. Do not screw the back plate on yet, you will do this once the knob has been reattached to the rod.
Step 5
- Reattach the glass top antique doorknob to the other side of the rod. Replace the screws and tighten until knob functions without wiggling.
Step 6
- Screw the back plate onto each side of the door.
Voila! You have installed your own antique or vintage doorknob! Don’t you feel accomplished? Antique doorknobs are meant to be admired. They are functional, but they are also showpieces and conversation starters. Our wide selection of salvaged doorknobs offers our customers the ability to mix and match their collections so they can design doors that set off the décor of the room even before guests enter them.
If, after reading this blog post, you are still unsure about how to install your doorknob, feel free to contact us, or visit one of our locations and speak with one of our staff. Send us a picture of your door or set to identify the key components you will need to complete your set. Send at [email protected]
Shop our large antique doors collection online
Match Your Antique Hardware at Olde Good Things
